

Turn your AGF Pure Solids Color Card into Magnetic Fabric Chips

Do you have an AGF Pure Solids Color Card? I’ve found that fabric swatches are an invaluable tool when you want to get just the right colors for your projects. I’ll admit, I didn’t always see the need for these little pieces of fabric - but after being disappointed with fabric that I ordered based on digital swatches, I finally saw what all the hype was about.
I’ve gotten so much use out of my Kona Cotton Color Card that I cut into magnetic chips, that I knew I had to find a way to do the same with my AGF Pure Solids swatches. And do you know what’s even better? With this method, you get the best of both worlds: independent, magnetic fabric chips and your Color Card still intact. Basically, your Color Card clones itself into little, magnetic fabric chips that you can move around, swap in & out, and use to plan your next masterpiece.
So, are you in? Let’s do this!
Here’s what you need:
AGF Pure Solids Color Card
Printed Chip Template (I recommend printing on white cardstock)
(9) 8.5” x 11” magnetic adhisive sheets (I used these)
Glue (I used Elmer’s School Glue, but you could also use a gluestick). If using liquid glue, I’d also recommend:
A ramekin or other container/surface to hold glue
A small brush to spread glue (I used a small makeup brush)
Rotary cutter (a sharp, new blade will really help! I use & love this Olfa Ergonomic Rotary Cutter)
Cutting mat
Acrylic ruler, at least 12” long
Scrap paper to protect surfaces from glue

Step 1. Take your printed chip template pages, and use your rotary cutter and ruler to trim the left, right, and bottom edges off of each page as shown below.

Step 2. Peel off the back of one of the magnetic sheets to expose the adhesive side.

Step 3. Take one of the trimmed chip template pages, and place it face-up onto the adhesive side of the magnetic sheet, carefully lining up the left and bottom edges. Repeat with the remaining template pages and magnetic sheets.

Step 4. Use your rotary cutter and ruler to cut along the lines and trim off the excess magnetic sheet, creating separate magnetic chips. Since the chip template lists the colors in the same order as the Color Card, you’ll want to keep your chips in that same general order for easy access in step 8.
Repeat to cut out all of your magnetic chips from your remaining, trimmed template pages.
(Tip! If you want to save your excess magnetic pieces for another project, place them adhesive side down onto the backing that you peeled off in step 2).

Step 5. Take your AGF Pure Solids Color Card, and carefully peel the fabric swatch off of the Color Card.
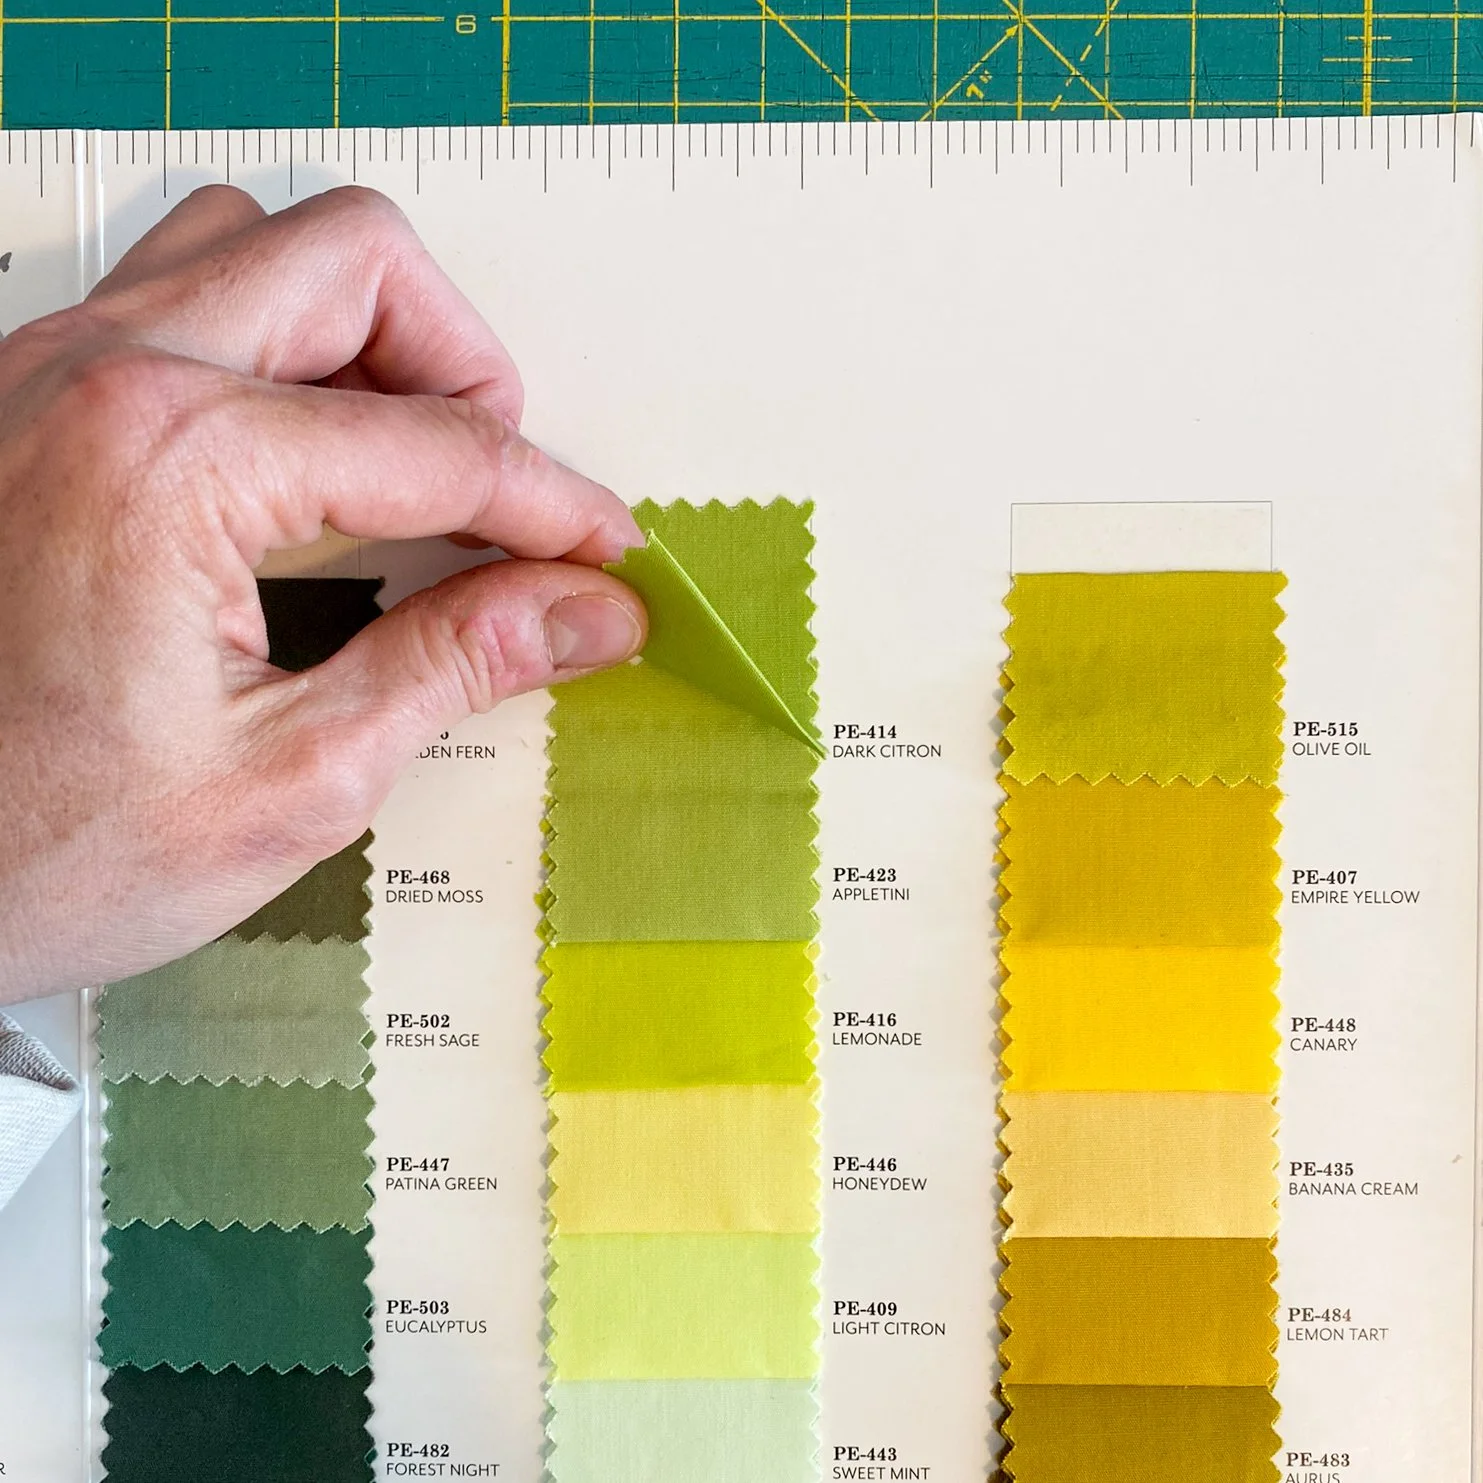
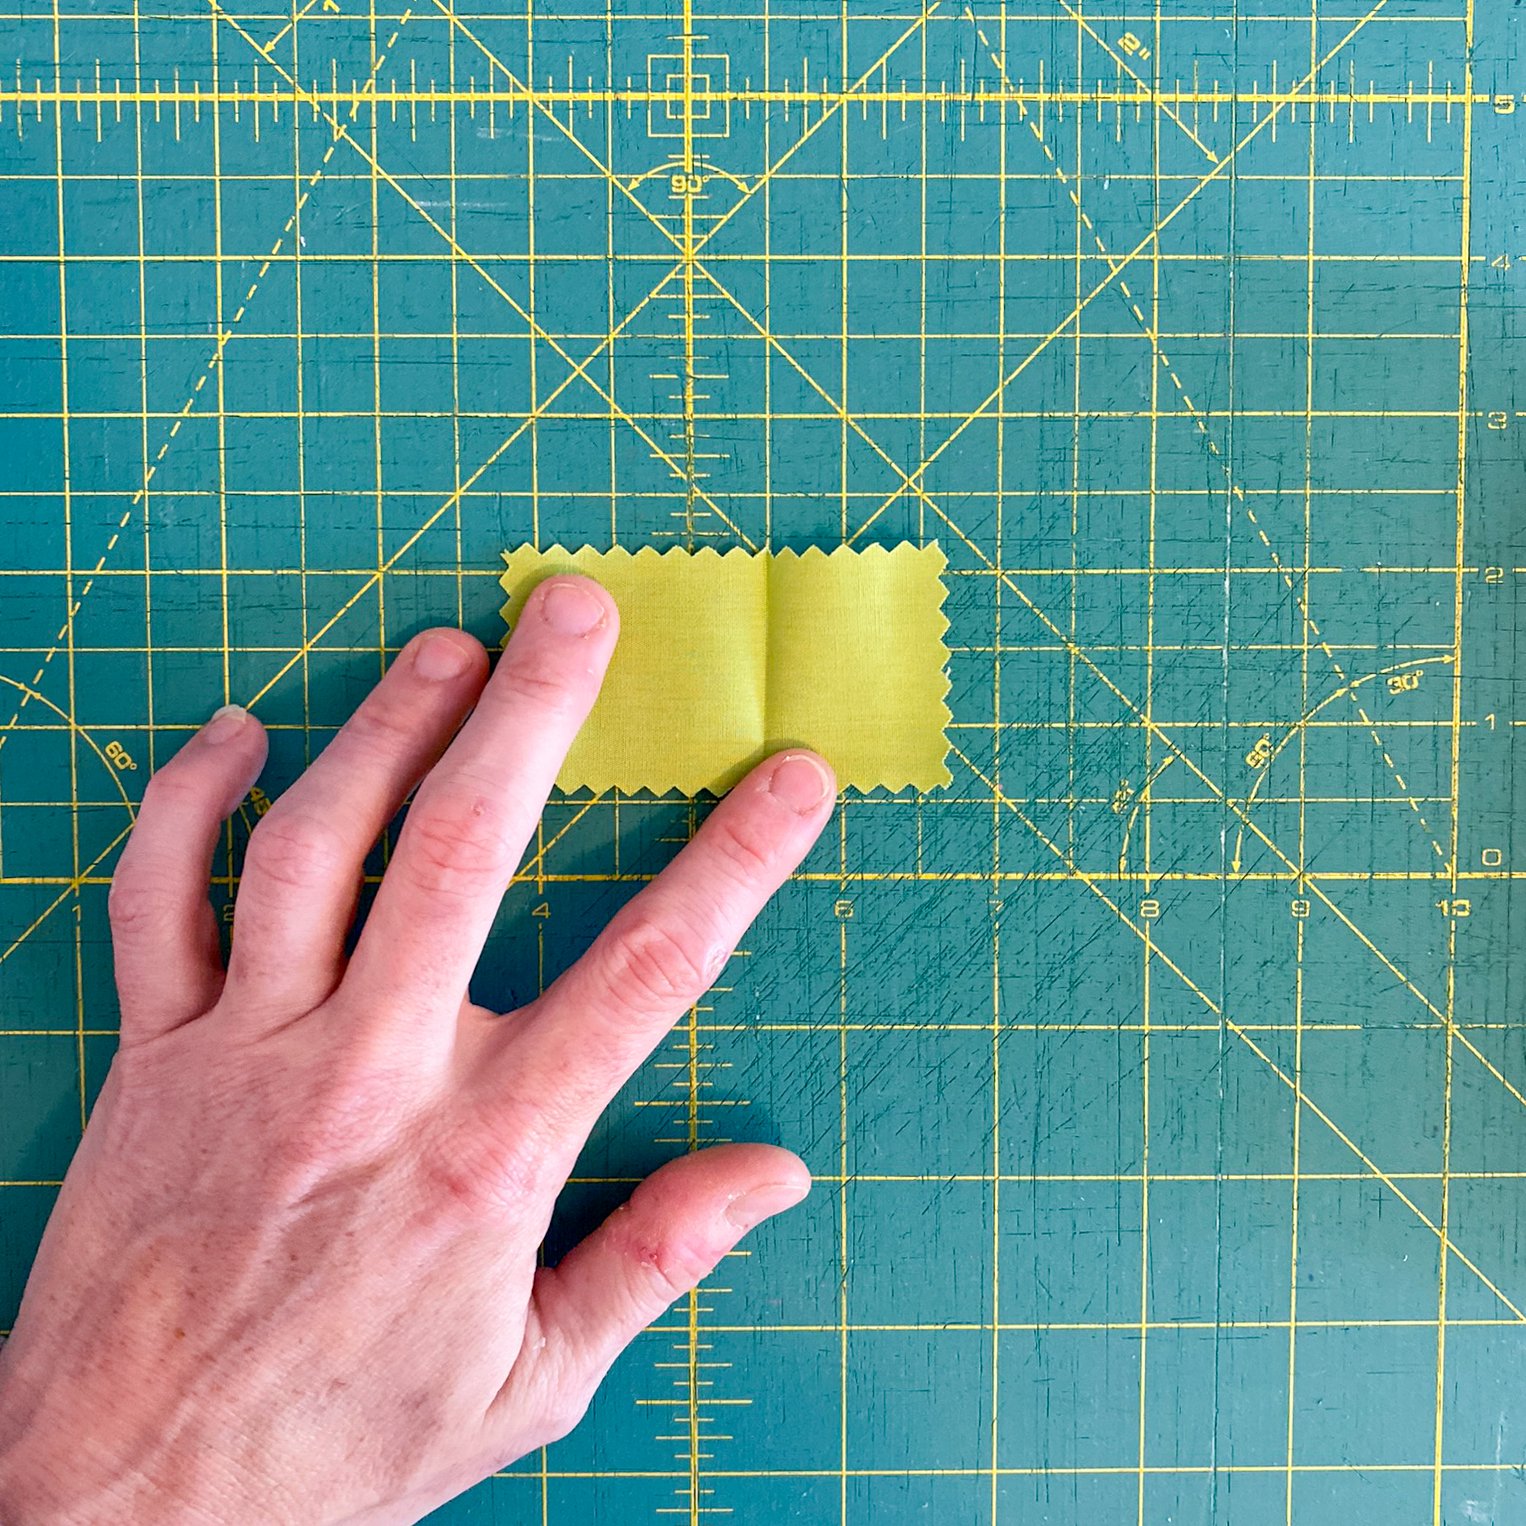
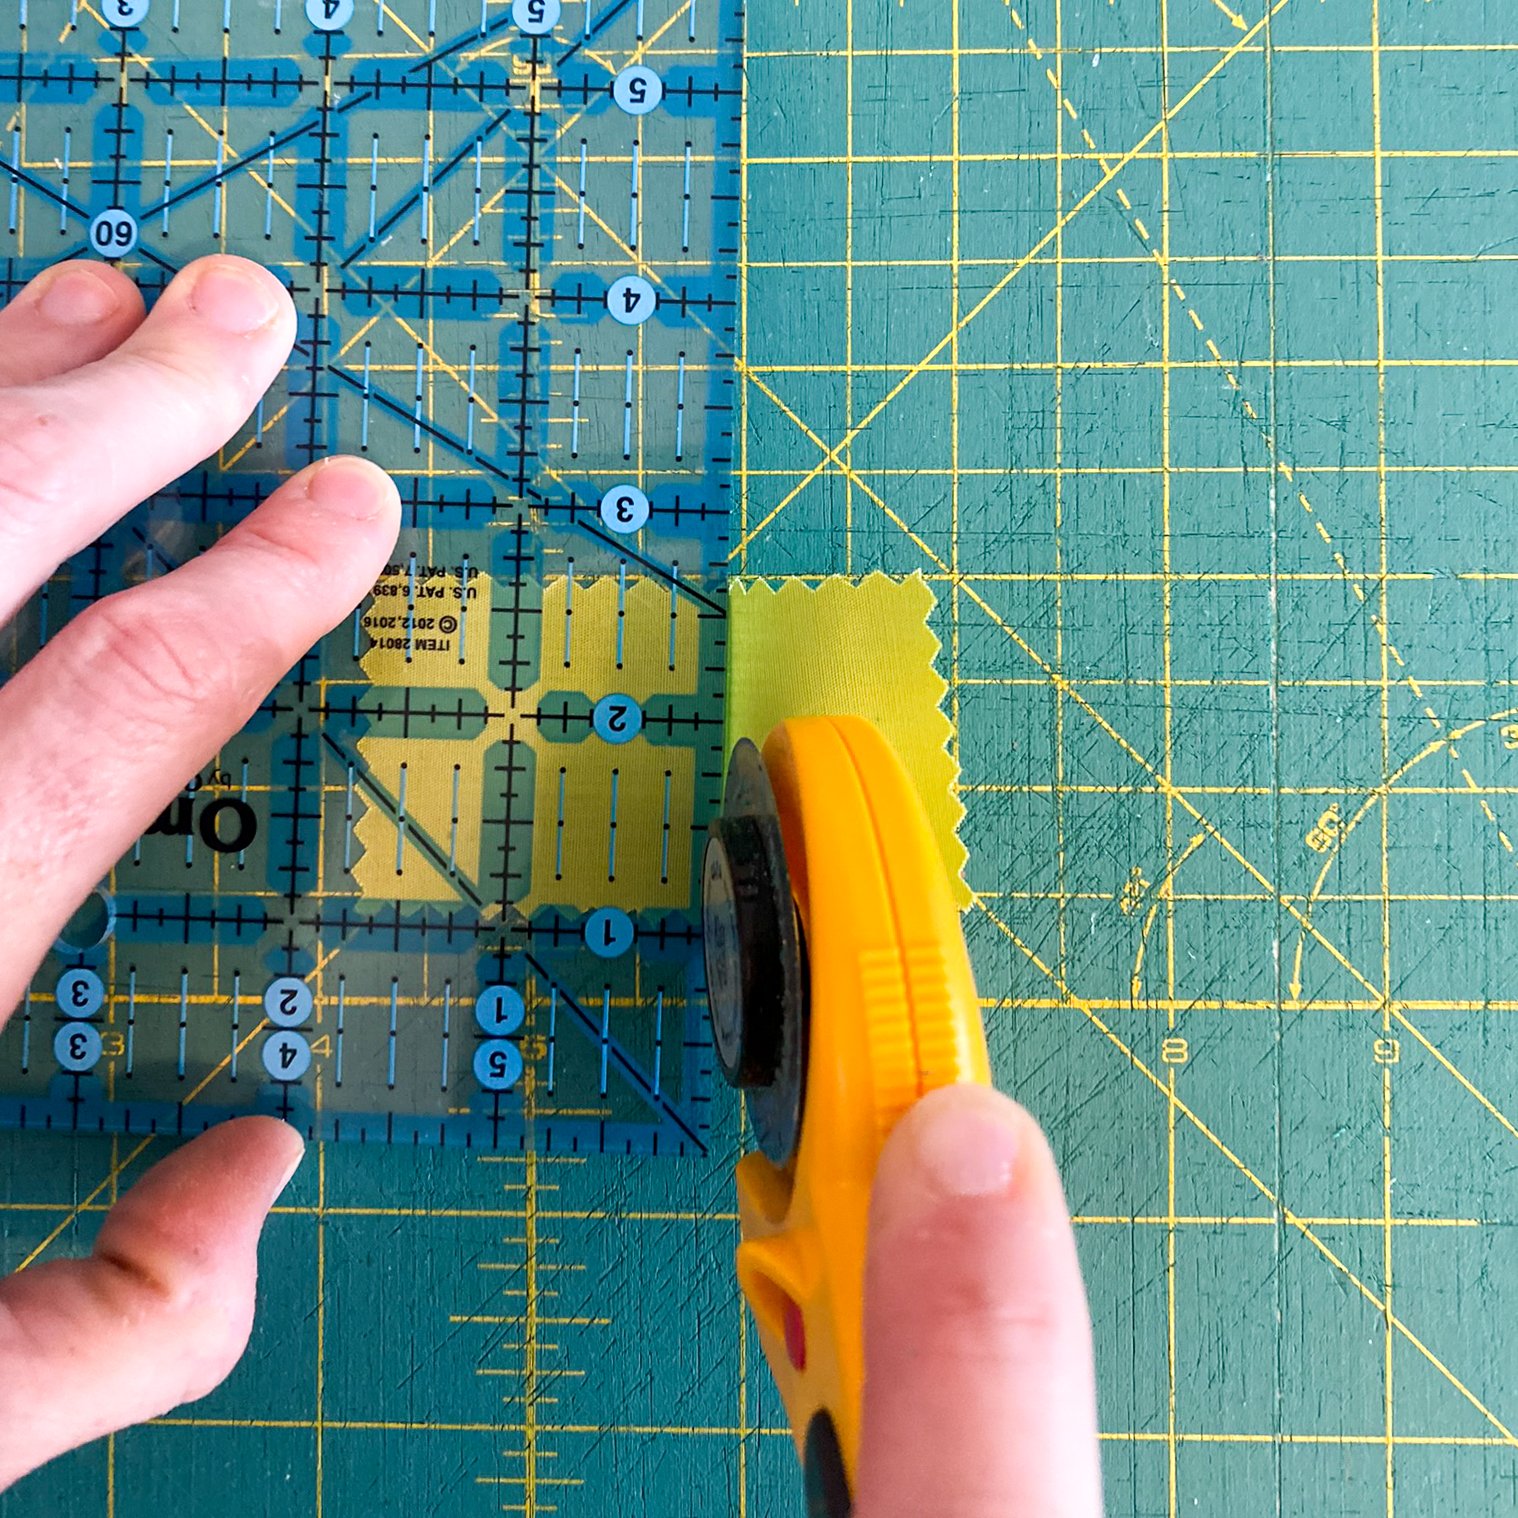
Step 6. Unfold the swatch, and use your rotary cutter and ruler to cut along the fold, creating two swatches.

Step 7. Take the smaller swatch, and place it back into its original place, as shown below, using the adhesive that is already on the Color Card.

Step 8. If using liquid glue, pour a little bit of glue into your container or surface of choice. Find the magnetic chip with the matching fabric color name. With your scrap paper underneath, use the brush or glue stick to smear a smooth, thin layer of glue onto the chip.

Step 9. Place the bigger fabric swatch onto the magnetic chip, lining up the straight edge of the swatch to the top edge of the chip. Press and smoothe to secure it in place.

Step 10. Put the swatch aside to dry, and repeat steps 5-9 above with the remaining fabric swatches on your AGF Pure Solids Color Card.

Viola! You now have your AGF Pure Solids Color Card and magnetic chips to play with to your heart’s content—and your Color Card as a handy, all-in-one reference. Who said you had to choose?
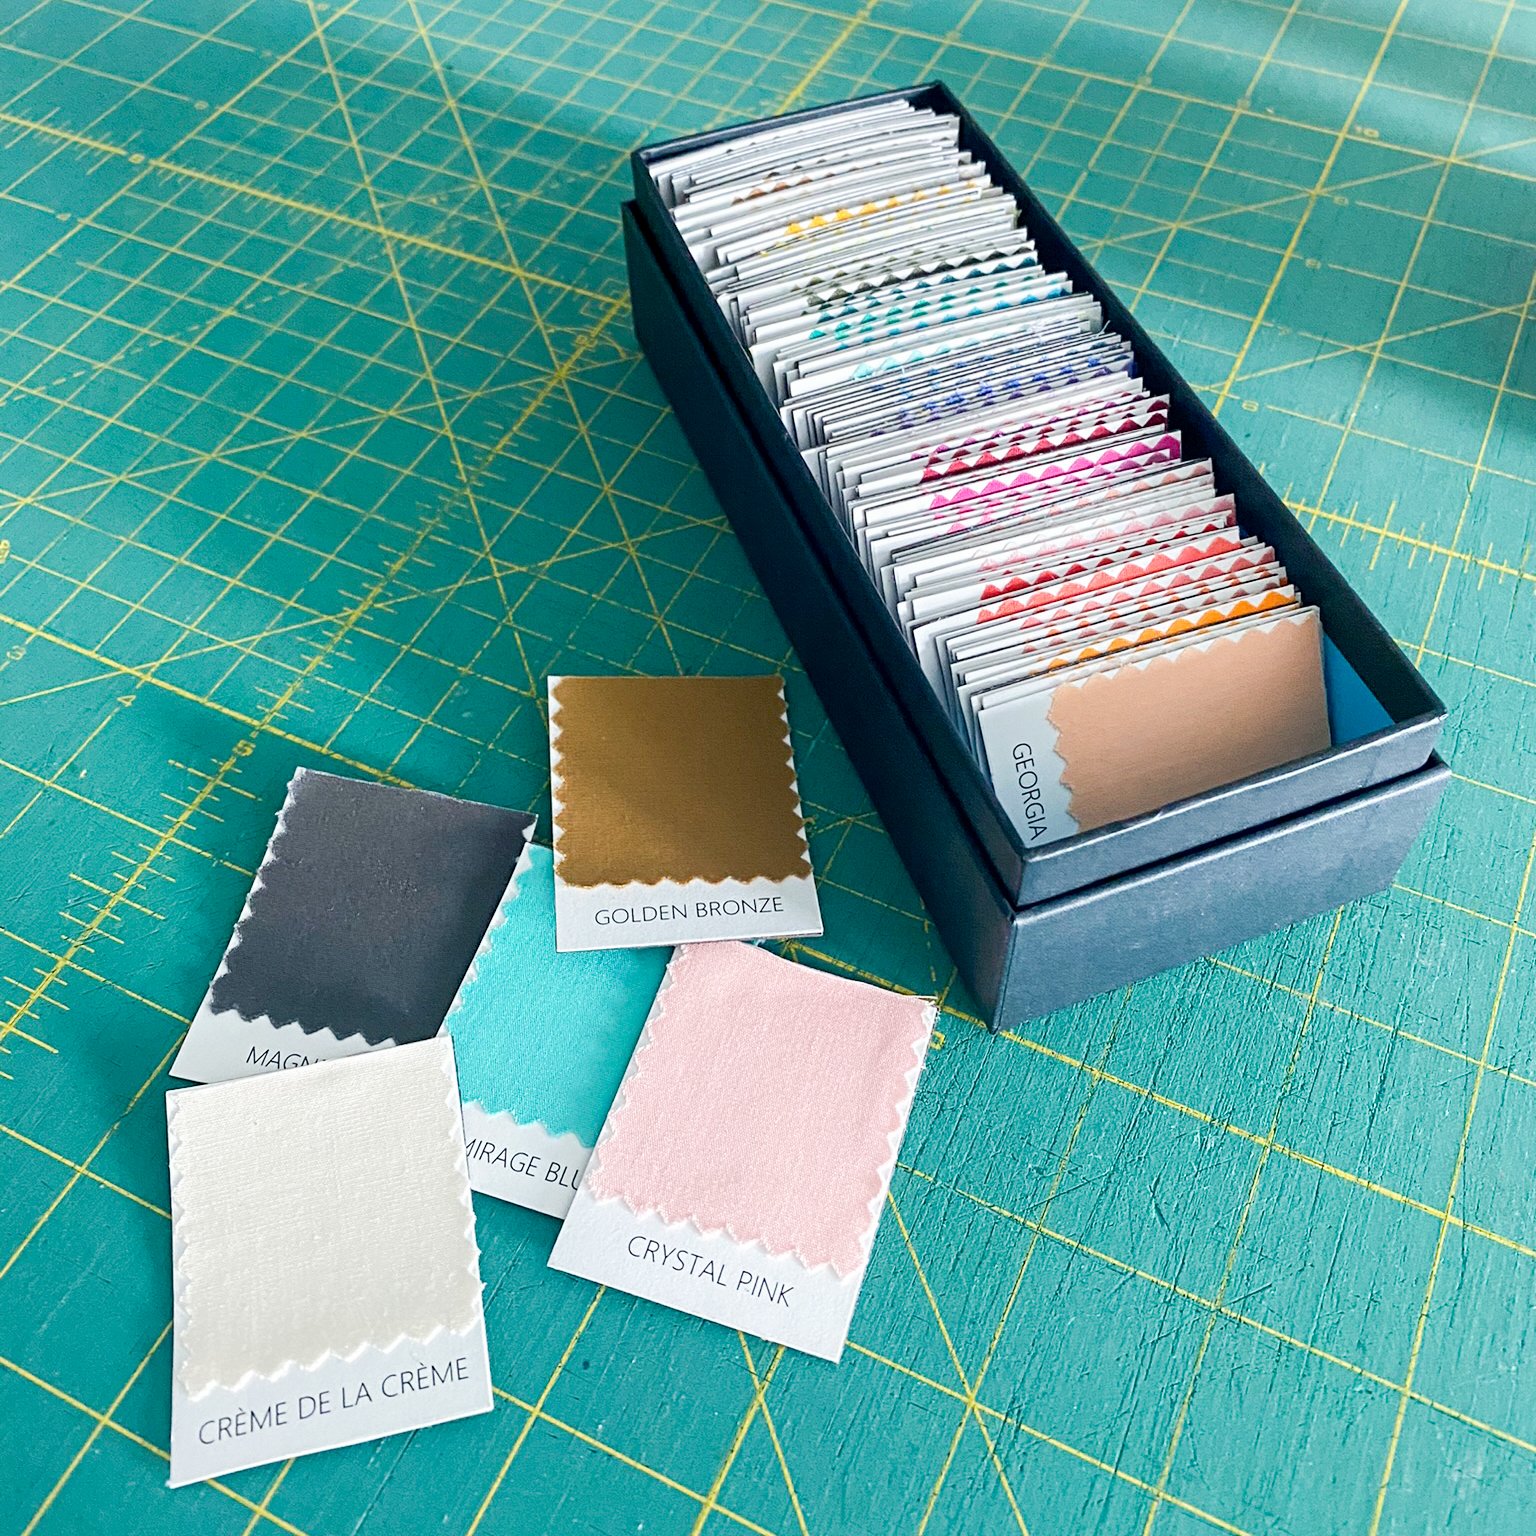
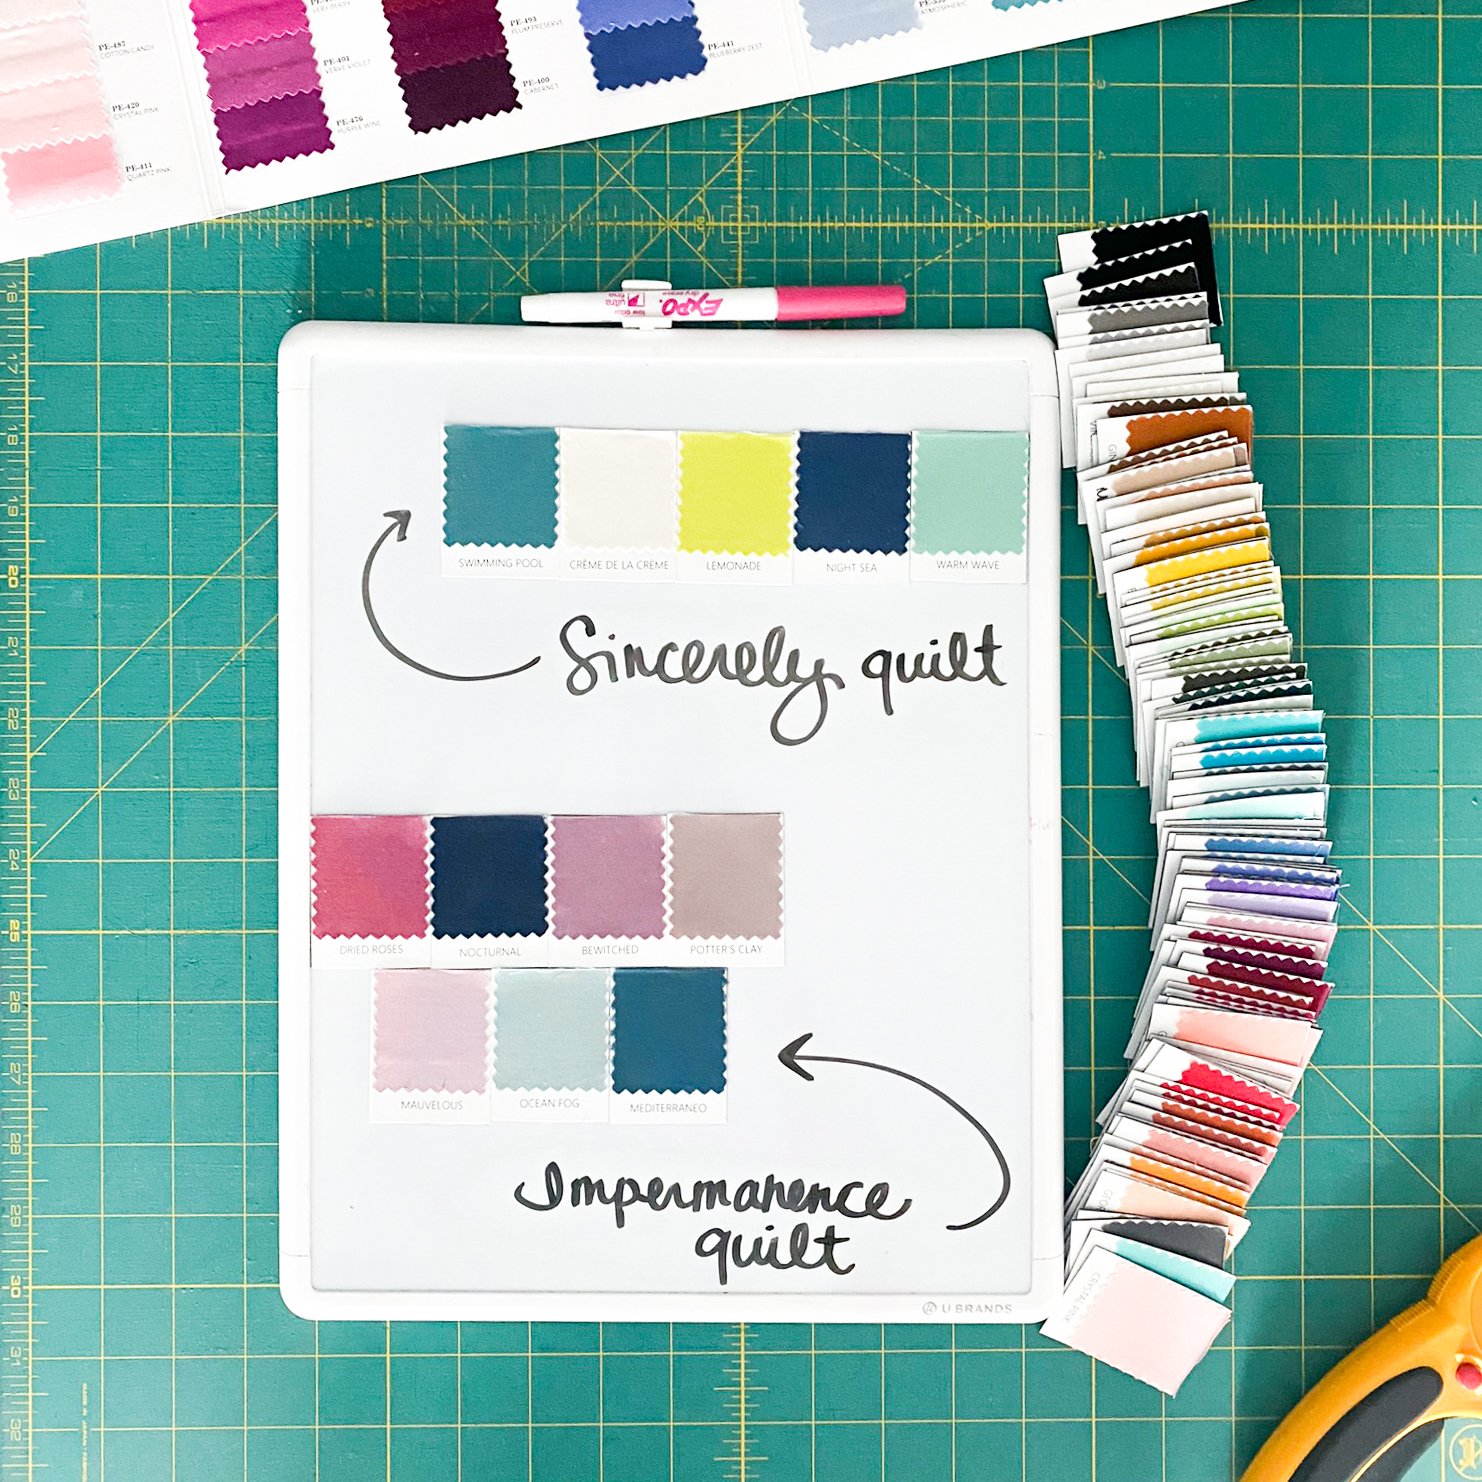
You can, of course, store your new chips on a magnetic board. I also found that a Warby Parker glasses box I had on hand just happened to be the perfect size for storing my chips, as well. In addition to my larger dry erase board, I love having a smaller one that I call my “swatch palette” - I use this to test out various combinations, make notes, and carry them with me between my sewing space, work desk, etc. It also just makes me feel more like an artist ;)
What project are you going to plan for next using your new AGF Pure Solids chips? Or maybe simply finding new ways to organize and rearrange them on your magnetic board will become your go-to soothing exercise (read: procrastination method). The use cases are endless…
Enjoy!

